Starshot: Space Circus Fever
From PCGamingWiki, the wiki about fixing PC games
Revision as of 05:35, 14 June 2021 by Dandelion Sprout (talk | contribs) (→nGlide: Upgrading links to HTTPS with AutoWikiBrowser, replaced: http://www.zeus-software.com/ → https://www.zeus-software.com/ (2))
 |
|
| Developers | |
|---|---|
| Infogrames | |
| Publishers | |
| Infogrames | |
| Steam | Pixel Games UK |
| Engines | |
| i3D | |
| Release dates | |
| Windows | December 4, 1998 |
Key points
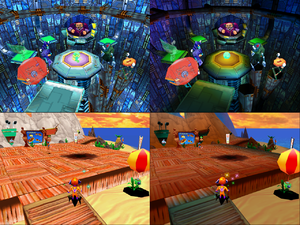
- Compared to the Nintendo 64 version the PC version has full voice acting, pre-rendered cutscenes and higher quality textures, but has no widescreen support. The music is completely different between the two versions.
- The PC soundtrack has been made available for download by the original author.[1]
- Can be played on modern systems using nGlide with full 3D hardware acceleration.
General information
Availability
| Source | DRM | Notes | Keys | OS |
|---|---|---|---|---|
| Retail | ||||
| Steam |
Demo
- A demo is available here. It includes the first level Tensuns.
Essential improvements
nGlide
- nGlide is a 3Dfx Glide wrapper which translates all Glide calls to Direct3D and enables older games to be played on modern systems. It can also be used to force higher resolutions.
| Instructions[2] |
|---|
Notes
|
Game data
Configuration file(s) location
| System | Location |
|---|---|
| Windows | HKEY_LOCAL_MACHINE\Software\Infogrames\Space Circus\[Note 1] |
| Steam Play (Linux) | <SteamLibrary-folder>/steamapps/compatdata/1437040/pfx/[Note 2] |
Save game data location
| System | Location |
|---|---|
| Windows | HKEY_LOCAL_MACHINE\Software\Infogrames\Space Circus\[Note 1] |
| Steam Play (Linux) | <SteamLibrary-folder>/steamapps/compatdata/1437040/pfx/[Note 2] |
- This game is designed to be played directly from the CD and doesn't require installation. Settings and saved games in the registry are encrypted.
Save game cloud syncing
| System | Native | Notes |
|---|---|---|
| Steam Cloud |
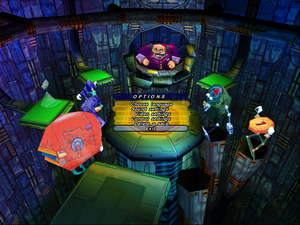
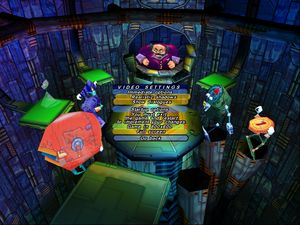
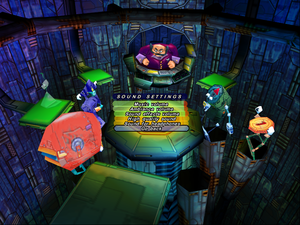
Video settings
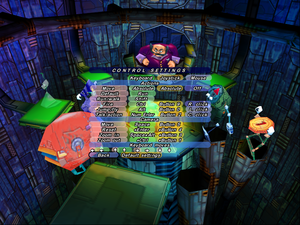
Input settings
Audio settings
Localizations
| Language | UI | Audio | Sub | Notes |
|---|---|---|---|---|
| English | ||||
| French | ||||
| German | ||||
| Dutch | ||||
| Italian | ||||
| Spanish |
Issues fixed
Problem running the game in software mode
- When running the game in software mode in fullscreen the game freezes after the intro cutscene or after loading a save.
| Run the game in windowed mode[3] |
|---|
|
Other information
API
| Technical specs | Supported | Notes |
|---|---|---|
| Direct3D | 5 | |
| Glide | 2.46, 2.53, 3 | |
| Software renderer | Run the game with soft parameter. |
| Executable | 32-bit | 64-bit | Notes |
|---|---|---|---|
| Windows |
Command line parameters
- See command line arguments on how to use the following options.
- More information about each parameter can be found in the
ReadMe.wrifile included on the game CD.
| Parameter | Description |
|---|---|
| mode<width>x<height>{w,f} | Set screen width and height, fullscreen or window mode (example: mode640x480w). |
| wintimer | Use Windows timer. |
| libtimer | Use internal timer. |
| glide | Enable Glide rendering mode (default). |
| soft | Enable software rendering mode (the CPU will handle all the calculations). |
Debug mode (Warp++)
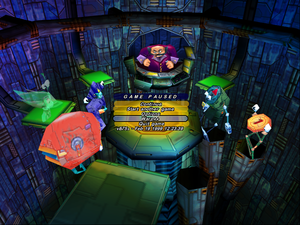
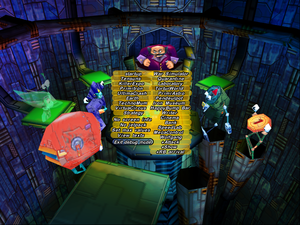
- It is possible to activate the debug mode, which also activates an additional menu called Warp++.
- Warp++ menu has options to cheat, load levels and view some cutscenes not used in the PC version.
- A controller is required, because direct camera control buttons are only available on a controller (usually D-pad/POV switch).[4]
| Instructions[5] |
|---|
|
Improved camera control
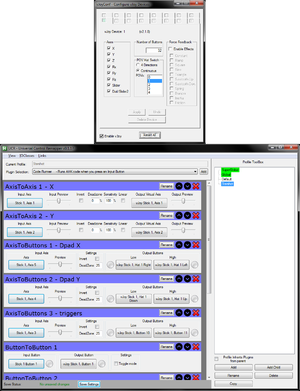
- The only way to freely control the camera while also moving is using a controller, but the camera controls are mapped to the D-pad and the movement is mapped to the left thumbstick which is not ideal. Camera controls are also inverted. There is no option to change these settings in the game.
- Using vJoy and UCR it is possible to create a virtual controller that controls the game, while a real controller is used to control the virtual one. This makes it possible to control the camera with the right thumbstick which significantly improves the gameplay experience.
| vJoy instructions[3] |
|---|
|
| UCR instructions[3] |
|---|
|
Cheats
- Some cheats are available in debug mode in the Warp++ menu.
- Holding F12 freezes enemy AI and camera and disables some traps.[6]
System requirements
| Windows | ||
|---|---|---|
| Minimum | Recommended | |
| Operating system (OS) | 95, 98 | |
| Processor (CPU) | Intel Pentium 200 MHz | Intel Pentium 133 MHz |
| System memory (RAM) | 32 MB | |
| Hard disk drive (HDD) | No installation required | |
| Video card (GPU) | DirectX 5 compatible | 3Dfx Glide compatible |
- Information taken from the game manual. Minimum shows the requirements when playing in software mode without a dedicated GPU, so the CPU requirements are higher.
Notes
- ↑ 1.0 1.1 Applications writing to
HKEY_LOCAL_MACHINE\SOFTWAREwill be redirected to other locations based on various criterias, see the glossary page for more details. - ↑ 2.0 2.1 Notes regarding Steam Play (Linux) data:
- File/folder structure within this directory reflects the path(s) listed for Windows and/or Steam game data.
- Use Wine's registry editor to access any Windows registry paths.
- The app ID (1437040) may differ in some cases.
- Treat backslashes as forward slashes.
- See the glossary page for details on Windows data paths.
References
- ↑ MobyGames - Gilles Benois
- ↑ nGlide Compatibility list
- ↑ 3.0 3.1 3.2 Verified by User:Antrad on December 3, 2017
- ↑ YouTube - comments section
- ↑ The Cutting Room Floor - Starshot:Space Circus Fever
- ↑ YouTube - video description

